Flashing a WIC Image
Flashing replaces the selected modem's persistent operating-system image.
-
In the Flash Image pane, choose a compressed .wic.lz4 image in the Flash Image panel.
-
Click Flash WIC.
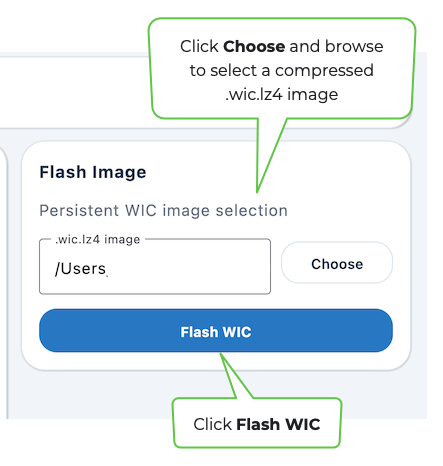
If a matching .bmap file is available, Discover uses it as block-map metadata so only the image's allocated regions need to be transferred and written.
The Confirm eMMC Flash dialog box summarizes the image, mode, bmap, destination, and number of selected modems.
Consider this a final target check. This operation overwrites the eMMC user area, and writing the wrong unit or losing power can leave the modem unbootable.
The optional Program U-Boot boot0 option requires a separately selected imx-boot artifact and should only be enabled when the bootloader must be replaced.
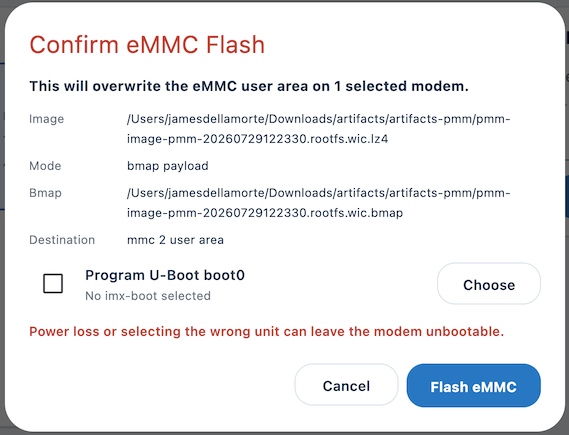
- Click Flash eMMC to proceed.
After confirmation, Discover requests the running modem to reboot into its U-Boot AoE environment.
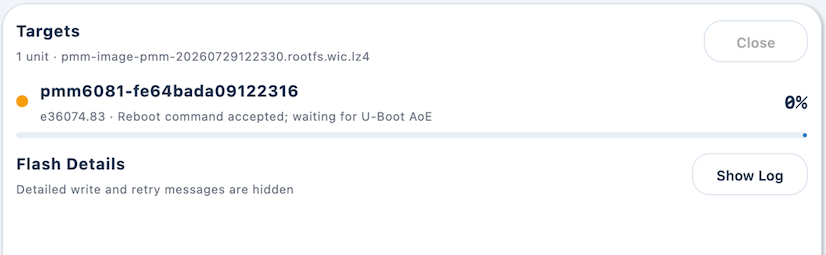
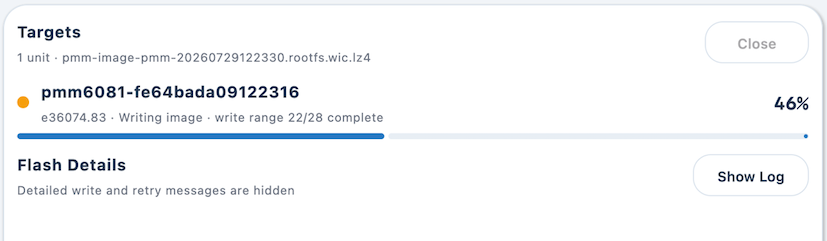
The progress window initially waits for that environment to become available, then streams the image over the network and writes it to eMMC.
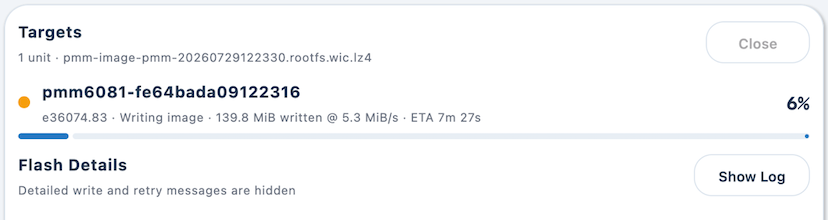
During the write, the UI reports percent complete, bytes written, transfer rate, and an estimated remaining time. The window should remain open and the modem should stay powered and connected until the target reaches 100 percent.
Click Show Log to view detailed write and retry messages for diagnosis.
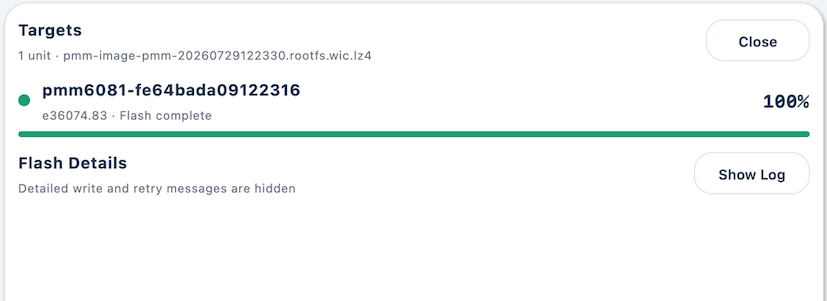
A green status and Flash complete indicate that the image transfer and write finished.
-
Close the progress window and allow the modem to boot from the new eMMC contents.
-
A sensible post-flash check is to rediscover the modem, query its version, and verify its network and application-level behavior.